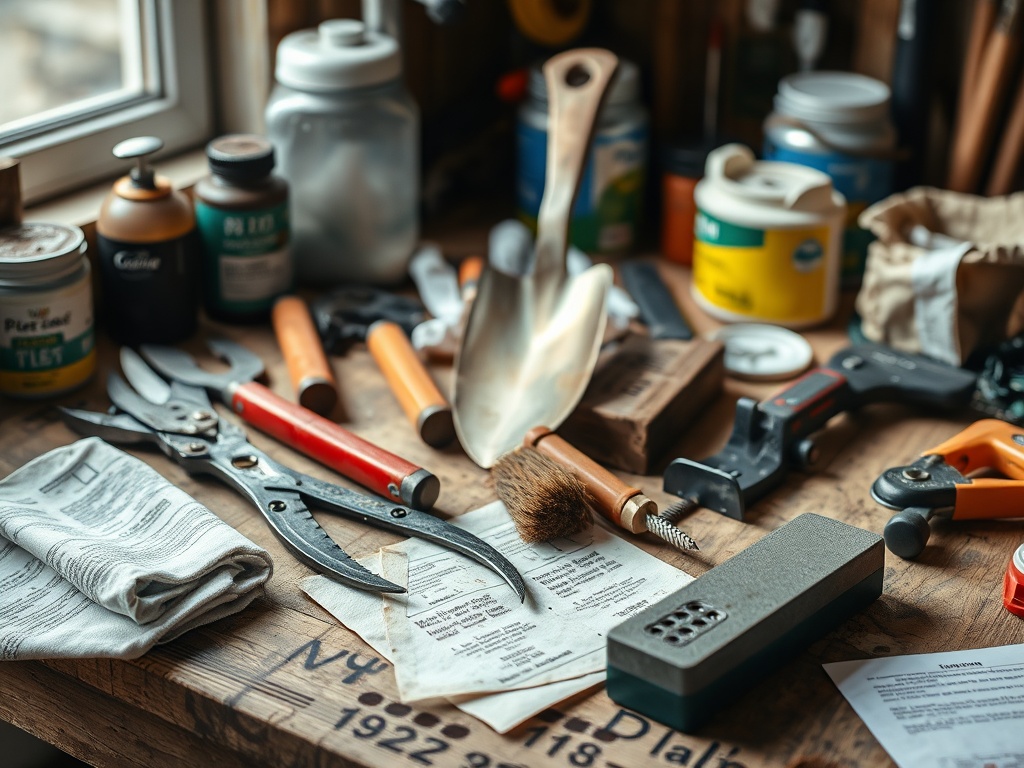
Clean garden hand tools after use, remove rust before it spreads, sharpen only the working bevel, lubricate moving joints, condition sound wooden handles when needed, and store everything clean and dry. A short maintenance routine protects the tool, makes cutting and digging easier, and gives you a chance to catch loose fasteners or damaged handles before the next job.
Tool-Care Sequence: Clean first, dry completely, remove rust, inspect for damage, sharpen with the tool secured, lubricate joints and metal surfaces lightly, then store under cover. Wear eye protection and sturdy gloves whenever filing or handling sharp edges.
Gather the Right Supplies Before You Start
You do not need an elaborate workshop. A stiff brush, mild soap, clean rags, water, rust-removal material such as steel wool or abrasive paper, a file or whetstone, light machine oil, and a clamp or vise can handle most hand-tool maintenance. Wooden handles may also benefit from appropriate oil if they are dry and splintering.
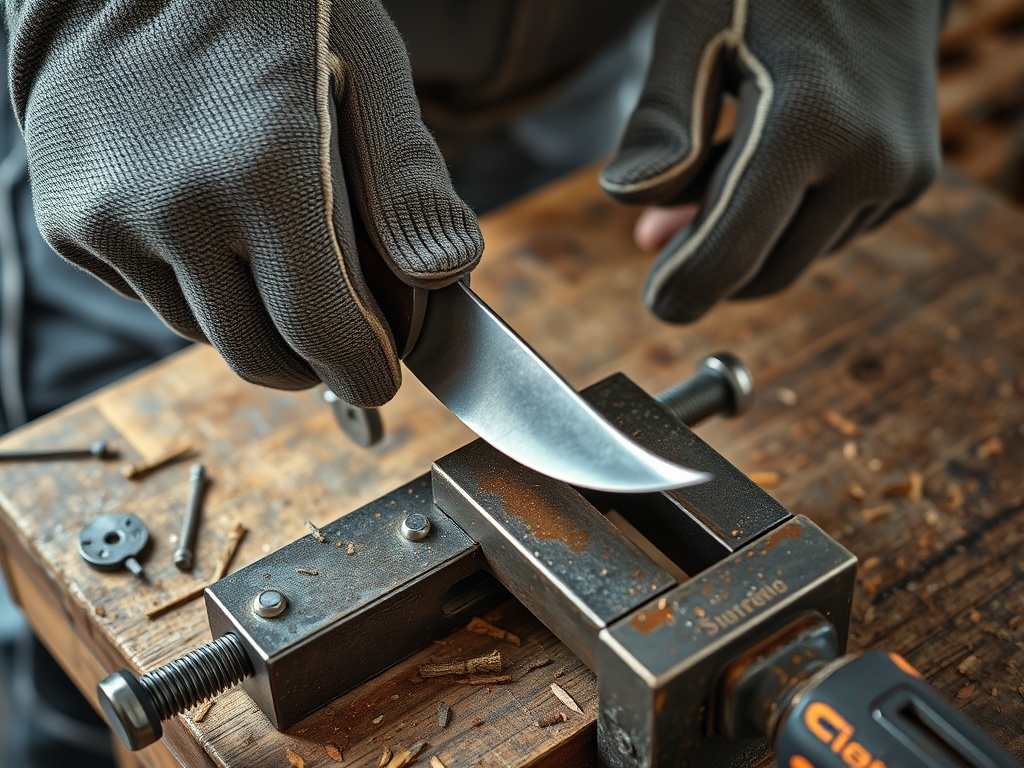
University of Georgia Extension’s garden-tool care guidance recommends protective gloves and eye protection for sharpening, along with securing a blade in a vise or clamp. That is a sensible baseline because a file can slip and metal fragments can be produced during sharpening.
Do not sharpen a tool while holding the cutting edge toward your body. If a tool is badly cracked, mushroomed, bent, or structurally compromised, replacement or professional repair may be safer than restoration.
Step 1: Remove Dirt Sap and Plant Residue
Brush off dry soil first. For caked dirt, wash with water and a small amount of detergent, then scrub joints and crevices. Sap on pruning tools may need rubbing alcohol or another appropriate solvent. Follow the solvent label, work with ventilation, and keep flammable products away from ignition sources.
Cleaning is not the same as disinfection. Routine soil removal is enough for many tools, but tools used on diseased plants may need disinfection before they are used on healthy plants. Plant-pathogen recommendations differ, so follow current Extension guidance for the disease involved.
Step 2: Remove Rust Before Sharpening
Surface rust can often be removed with steel wool, abrasive paper, or a wire brush. Work until the metal is smooth enough that you can inspect the cutting edge. Deep pitting, cracks, or thinning metal may indicate that the tool has reached the end of safe service.
After rust removal, wipe away all abrasive grit. A light protective oil can help limit new corrosion during storage, especially in humid sheds or garages. More oil is not better; excess attracts dust and creates a slippery handle or tool head.
Step 3: Inspect Handles Fasteners and Joints
Check wood handles for cracks, splinters, looseness, and rot. Sand small rough areas smooth. A cracked handle near the tool head should not be ignored because that section carries substantial load during digging or chopping.
Tighten loose bolts or screws using the correct tool, but avoid overtightening pivots on pruners and shears. Cutting tools should open smoothly without excessive side-to-side play. If replacement parts are available from the manufacturer, use parts intended for the model rather than improvising a fit that changes the tool’s mechanics.
NIOSH ergonomic guidance for non-powered hand tools emphasizes selecting tools that reduce force, repetition, and awkward wrist positions. Maintenance cannot fix a handle shape that does not fit you well, so consider ergonomics when deciding whether to repair or replace an uncomfortable tool.
Step 4: Sharpen the Correct Edge
Different garden tools have different edge geometry. Bypass pruners typically have one sharpened cutting blade and a second surface that supports the cut. Hoes, shovels, and spades may have a single bevel intended for soil work. Do not create a new angle simply because a steeper edge feels sharper.
Secure the tool so the cutting edge cannot move. With a file, use controlled strokes in the direction recommended for the tool and maintain the existing bevel. Remove only enough metal to restore a consistent edge. A garden tool does not need to be razor sharp; a thin, fragile edge can chip or roll during normal use.
Step 5: Lubricate Without Creating a Mess
Apply a small amount of light machine oil to pivots, springs, and bare metal surfaces, then wipe off excess. Work a pruning tool open and closed several times so lubricant reaches the joint. Avoid getting petroleum products on soil or plant material during use.
Wooden handles that are dry can be lightly sanded and treated with an appropriate penetrating oil such as boiled linseed oil or mineral oil depending on the tool-care guidance you are following. Read product safety directions carefully. Oily rags, especially those used with drying oils, can present a fire hazard if stored improperly; dispose of or dry them according to the product instructions and local fire-safety guidance.
Tool-by-Tool Maintenance Guide
| Tool | Clean | Sharpen | Inspect closely | Store |
|---|---|---|---|---|
| Bypass pruners | Remove sap and debris from blades and pivot | Follow original bevel on cutting blade | Pivot bolt, spring, blade alignment | Closed or locked, dry |
| Loppers | Clean blades and handles | Maintain factory bevel | Handle cracks, pivot, bumpers | Hung or supported, dry |
| Shovel or spade | Remove soil from blade and socket | Restore working edge if dull | Handle-to-socket connection | Off damp floors |
| Hoe | Clean soil and rust | File working edge | Head attachment and handle | Hung under cover |
| Hand trowel | Wash and dry | Usually minimal sharpening | Bent neck, loose handle | Dry with edge protected |
Disinfect When Disease Is a Concern
Pruning tools can move plant pathogens from one cut to another. Penn State Extension pruning guidance recommends cleaning and disinfecting tools when diseased plant material is involved. Alcohol solutions are commonly used because they act quickly; bleach solutions are also cited in some horticultural guidance but can corrode metal and need careful handling.
Do not mix cleaners or disinfectants. Chlorine bleach must never be mixed with ammonia or acids. Follow the chemical label and disease-specific Extension recommendations, then dry and lubricate the tool after treatment if the process strips protective oil.
Store Tools Where Moisture and Impacts Are Controlled
A dry wall rack is usually better than a pile on a shed floor. Hanging long-handled tools keeps edges from striking each other and makes loose handles easier to notice. Store sharp pruners closed or latched, and keep cutting edges where children cannot reach them.
Build Tool Care Into Landscaping Work
Cleaning is easier when it happens before soil and sap harden. Keep a brush and rag near the storage rack so a two-minute cleanup becomes part of putting tools away. At the end of the season, do a deeper inspection before winter storage.
Good tools make routine yard work more manageable. If you are planning broader improvements, backyard landscaping ideas can help you decide which tasks deserve priority, while small-patio planning can reduce the amount of ground you need to dig, edge, or maintain.
Retire a Tool When Safety Is Questionable
A beautifully sharpened edge does not make a cracked handle, loose head, or damaged locking mechanism safe. Replace components when the manufacturer supports repair, and retire tools that cannot be restored reliably. For specialized shears or expensive pruners, professional sharpening can be a sensible choice when you are unsure about blade geometry.
Make the Next Use Easier Than the Last
The best maintenance routine is consistent rather than complicated: knock off soil, dry the tool, check the edge and fasteners, and return it to a dry place. Schedule deeper sharpening and handle care when performance changes or before long storage.
This tool-maintenance information is general and educational. Follow manufacturer instructions for sharpening angles, disassembly, lubricants, solvents, disinfectants, and replacement parts; use appropriate protective equipment and professional repair when a tool is structurally damaged or unfamiliar.